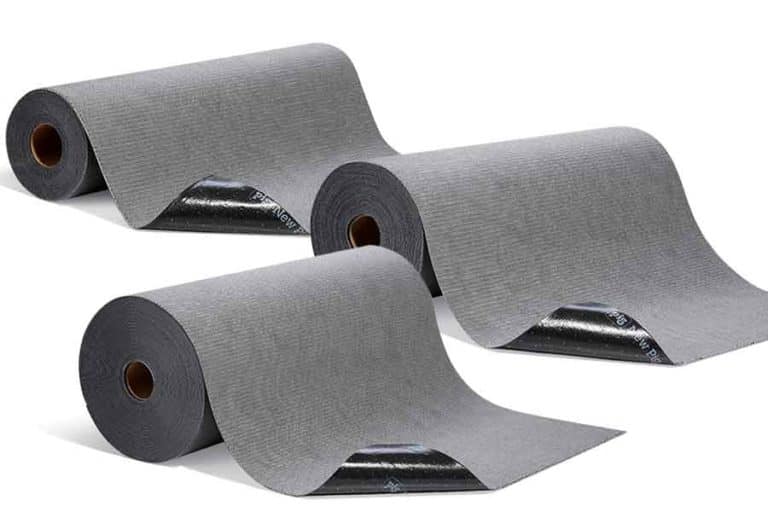
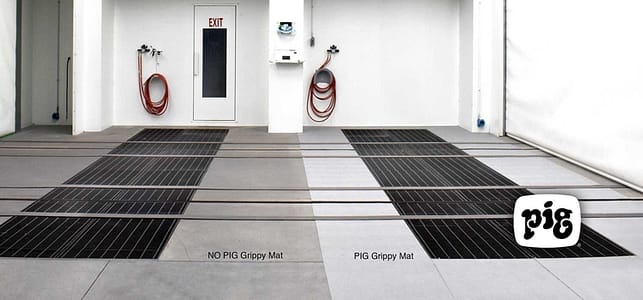
The PIG Grippy Mat is a unique, adhesive floor covering for paint booths that protects the booth floor, while also trapping overspray, dirt, dust and particles for better quality paint finishes and a safe, bright working environment.
If you have invested in the PIG Grippy Mat, knowing how to properly install it can save you time and resources, allowing you to dedicate more energy toward painting. Follow these seven simple steps to install the PIG Grippy Mat in your paint booth:
1. Thoroughly clean and dry the paint booth floor to ensure the best grip and overall performance of the PIG Grippy Mat. If there is loose buildup on the floor, scrape it off for better adherence.
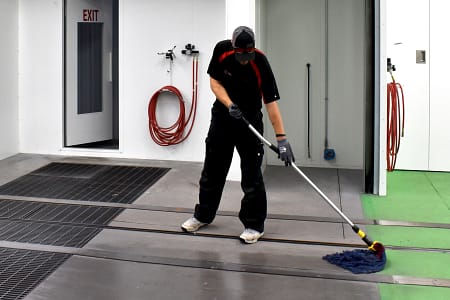
When using a degreaser to clean the floor before placing the PIG Grippy Mat, rinse the surface thoroughly with water and let it dry. Cleaning and polishing products interfere with the PIG Grippy Mat’s adhesion, so be sure to wipe surfaces where these products are used with a solvent such as MEK, heptane or a lacquer thinner to completely remove them. A second wipe with fresh solvent and a clean cloth may be necessary.
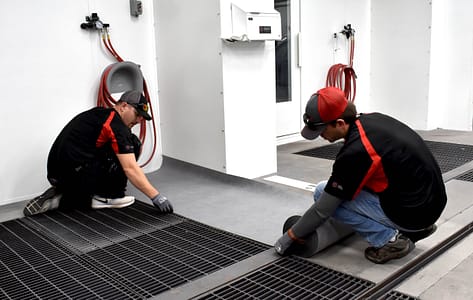
2. Press and stick the leading edge of the PIG Grippy Mat to the floor.
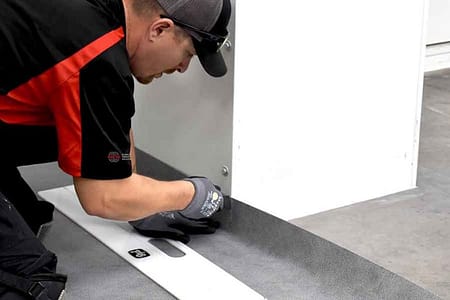
3. Roll out the PIG Grippy Mat over the coverage area.
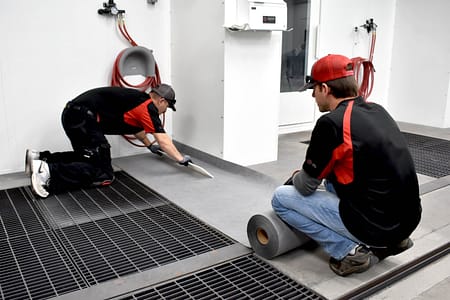
4. Cut the PIG Grippy Mat to size using a safety knife, scissors or utility blade. If using the installation board, position it on top of the mat and use the edge to cut a straight line, or position it under the mat and cut along the channel grooves for a straight cut.
5. With the PIG Grippy Mat in place over the entire booth floor, remove any air bubbles using the installation board, installation roller or another tool with a wide, flat edge. This is similar to removing air bubbles from a screen protector on a cell phone.
6. Tape over all of the seams and open edges on the PIG Grippy Mat.
7. If needed, vacuum or sweep the PIG Grippy Mat to remove any debris from installation.
This brief video also shows step-by-step installation of the PIG Grippy Mat.
Here are other tips to maximize the life of your PIG Grippy Mat:
If the surface is clean and dry, the PIG Grippy Mat can be repositioned by picking it up and reapplying. To pick it up, pinch an edge of the PIG Grippy Mat with one finger under the bottom tacky side and the other finger on the top absorbent side. Peel up slowly at a 90-degree angle, then reposition as needed. Using this method will avoid separation of the top and bottom layers, as well as prevent any adhesive residue from being left behind.
The PIG Grippy Mat is so durable, it can be left in place during daily cleaning. Vacuums, brooms and mops can pass over it without damaging the mat or affecting its grip. For stubborn stains that do not come out during normal cleaning, use a stiff bristle brush with regular floor cleaning solution to agitate and loosen the stain.
The PIG Grippy Mat usually dries in less than five hours. Standard fans or floor blowers can be used to accelerate drying. For extremely wet conditions, you can speed up the drying process by removing the water using a wet/dry vacuum or dry mop.
If the PIG Grippy Mat shows no obvious signs of wear and is maintaining a good bond to the floor, it can remain in place for up to three months. If the edges become worn or begin to lift, peel back the mat until fresh adhesive is exposed, then trim and press the new edge into place. For areas with high traffic, cut the mat corners at an angle to reduce potential lifting.
Replace the PIG Grippy Mat when the stitching begins to fray after an extended period of intense use. It should also be replaced when the saturation level approaches the mat edges. This will prevent liquid from seeping out of the mat and under the backing.
Two people are needed to pull up the PIG Grippy Mat. With each person grabbing a corner at the same end of the mat, pull in unison in a smooth, continuous motion. As you are slowly lifting the mat, fold or roll the mat back on itself and reposition your grip as you go. Periodically cut the lifted mat off in sections and place aside for disposal.