For automotive refinishers, there is nothing more frustrating than finishing defects. They can cause rework, create production bottlenecks and negatively impact a body shop’s bottom line.
Most finishing defects are the result of technician error or contaminants entering the spray booth, typically during the painting or drying process. While most finishing defects are preventable, correcting them can result in hours of additional labor and hundreds of dollars in unnecessary materials and expenses.
Here are four of the most common finishing defects in automotive refinishing, along with ways you can fix them and prevent them from happening:
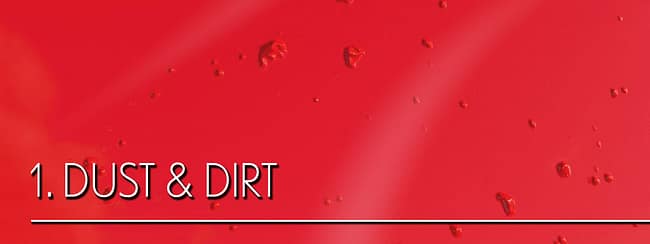
One of the primary causes of finishing defects is dust and dirt in the basecoat or clearcoat. This is the result of contaminants entering the paint booth — either through the air, from the painter’s attire or on items being painted (due to improper cleaning of a vehicle or parts).
When dirt settles in the wet film of the basecoat, it looks like a smattering of pinhole-sized specks. The dirt particles must be sanded out before reapplying basecoat to the affected areas.
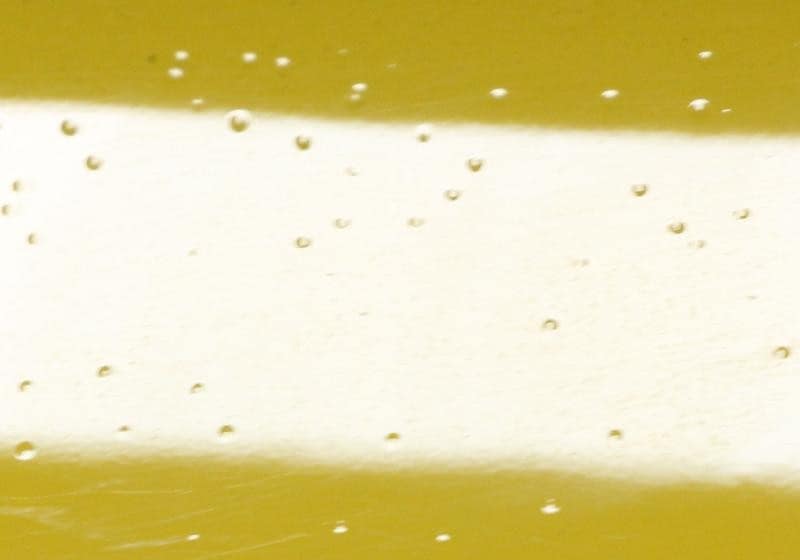
During the application of clearcoat, when dirt is trapped in the wet film, it resembles little, bubble-like pimples. Since sanding and polishing only removes dirt on the surface of the clearcoat, reapplication of the basecoat and clearcoat is often required.
If the contamination is on the surface, buffing can typically remove it, although it is time-consuming. If the contamination is beneath the surface or is severe, the entire panel must be refinished.
Regularly cleaning your paint booth helps prevent dust and dirt from lingering in the booth. All crevices of the booth should be blown out to keep contaminants from becoming trapped. Painters should also wear lint-free spray suits, so they do not unknowingly carry dirt into their paint jobs.

Solvent popping occurs when trapped solvent expands and breaks through the applied paint film. Several problems can cause solvent popping, including:
If the solvent popping is on the surface — also known as micro-popping — sanding and buffing can sometimes remove it. If the solvent popping is beneath the surface, the entire finished area must be sanded, primed and repainted.
Applying a normal film thickness can help prevent solvent popping. It is best to follow the recommendations on the technical data sheet (TDS) from your paint supplier.
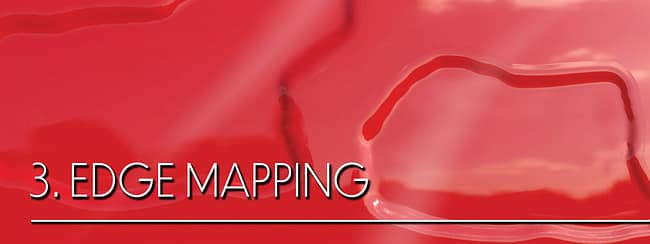
Edge mapping results from solvents in topcoats penetrating through areas of the undercoats; it resembles a wrinkling around the area that has been repaired. Edge mapping is caused by one of the following situations:
To fix edge mapping, the topcoat must dry thoroughly. Then, the damaged area must be sanded, isolated and repainted.
Edge mapping can be avoided by not sanding through to soft substrates, which can be identified by conducting a solvent test. You should also isolate using an EP or 2K filler that is applied in several thin coats, with flash-off times observed.

Most adhesion problems occur when paint fails to stick to the substrate. This is a finishing defect that is perhaps the easiest to avoid. The source of adhesion problems can be one of the following:
Sanding and repainting is the only way to rectify adhesion problems. The issue can be prevented by following the recommendations on the TDS regarding film thickness and intermediate and final flash-off times, as well as clearcoat, hardener and thinner mixtures.
Keeping your paint booth clean and following the recommendations of your paint supplier are the keys to avoiding most finishing defects. If you have questions about how to apply or dry paint, your safest bet is to check with your paint supplier, as a simple phone call could save you a lot of time and expense.